Hello, everyone.
This is Enta.
I wanted to explain the documents for the basic exam first, but,
Due to my own circumstances (I've got a lot on my plate), I think I'll start with the installation lol
Preparing the Anchor Body
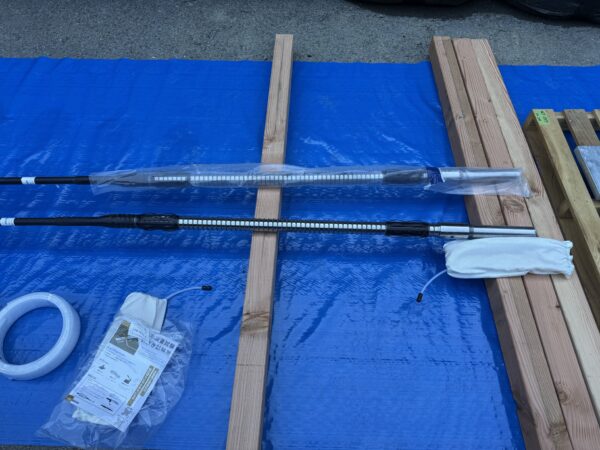
In this test, we will conduct verification tests using SE's table anchor.
We'll be using Fujiwara Sangyo's rubber tube packers.
I believe Fujiwara Industries is probably the only company in the industry that sells these materials.
Fujiwara Industries Tube Rubber Packer
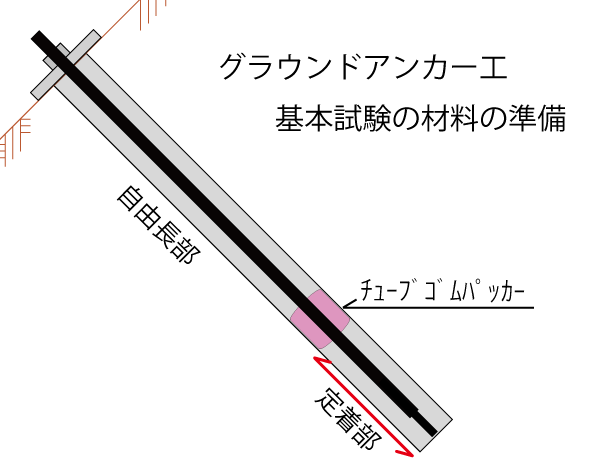
The basic structure looks something like this.
This is the same regardless of which anchor you use.
The reason for using a rubber tube packer is to separate the cement slurry in the free length from that in the set section, and
This is to rinse the cement slurry from the free-length section and remove friction.
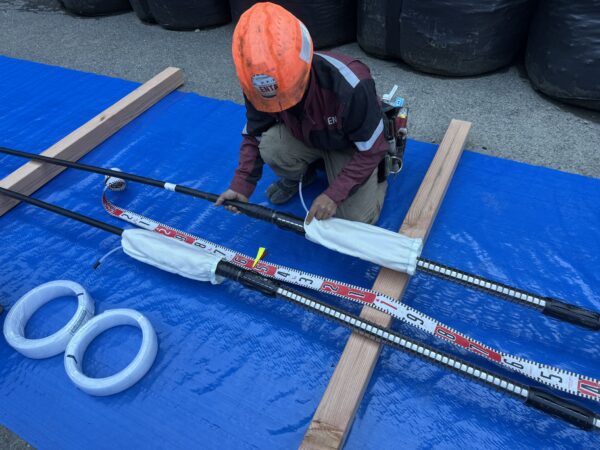
Since the embedment length is 1,500 mm this time, set the rubber tube packer up to the 1,500 mm mark.
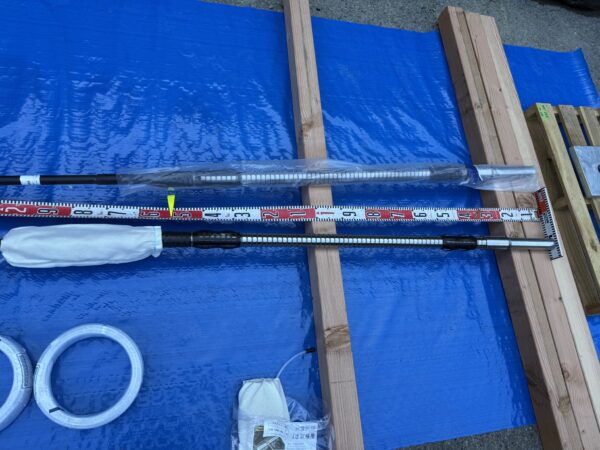
We will ensure that the 1,500 mm is securely fastened.
Please don't try to make it a little more or a little less.
Since you're taking the exam anyway, you should study thoroughly to some extent.
After all, you want the most accurate data possible, don't you?
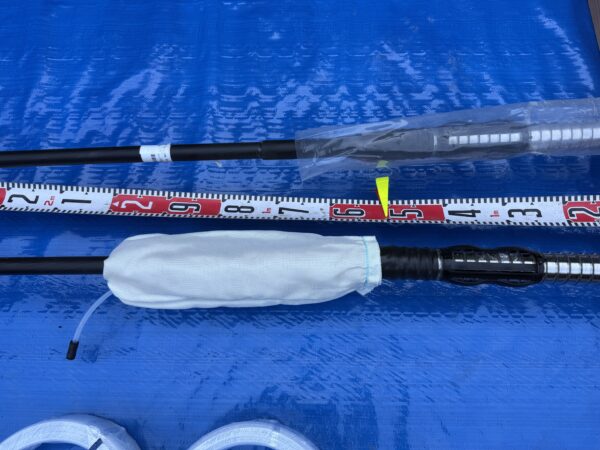
Since there's some overlap for the tape, I'll leave about 2 cm.
I'll start wrapping the tape from here.
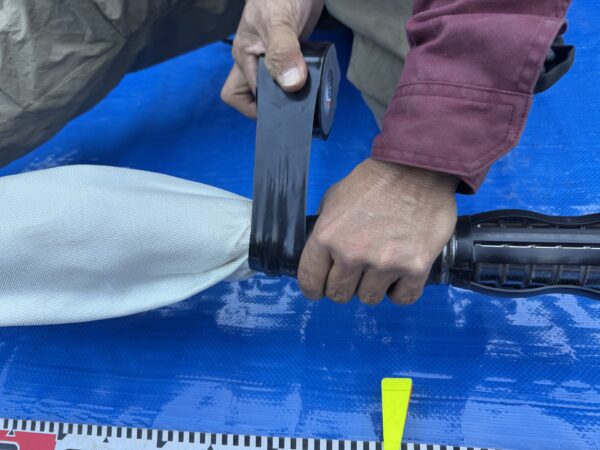
Packer's Tips
While pulling it taut with a wide piece of tape,※As small as possibleWrap it around it!
Making this packer as small as possible will make it easier to insert into the casing.
Here's the key point.
Anyway, just wrap it tightly while pressing down firmly with the tape.
If you wrap it this tightly, the packer won't inflate, will it!?
Some people might think that.
But don't worry—it actually inflates very easily.
The recommended inflation pressure for the rubber tube packer is 0.2 MPa.
Since 0.2 MPa exerts a force of 2 kgf per 1 mm², that’s an incredible amount of force.
It tears right through vinyl tape!
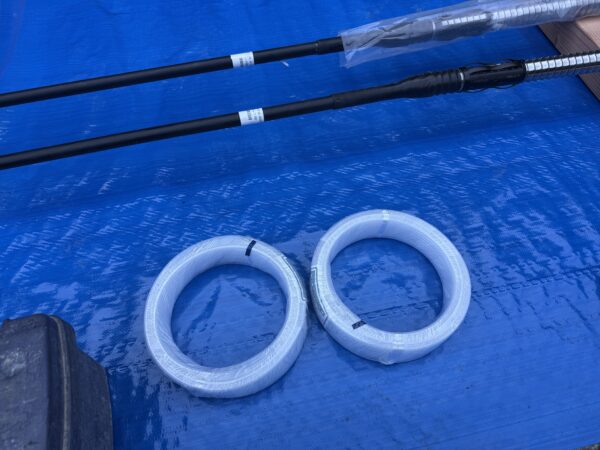
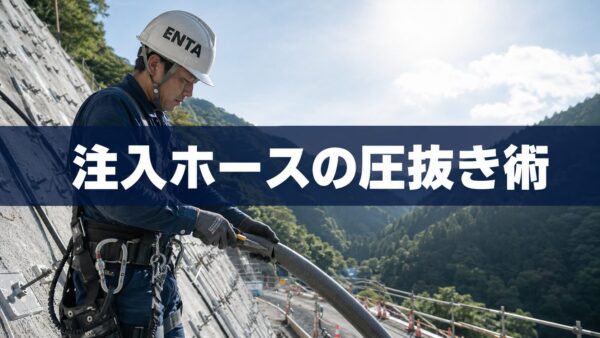
After securely wrapping the packer, attach the injection hose.
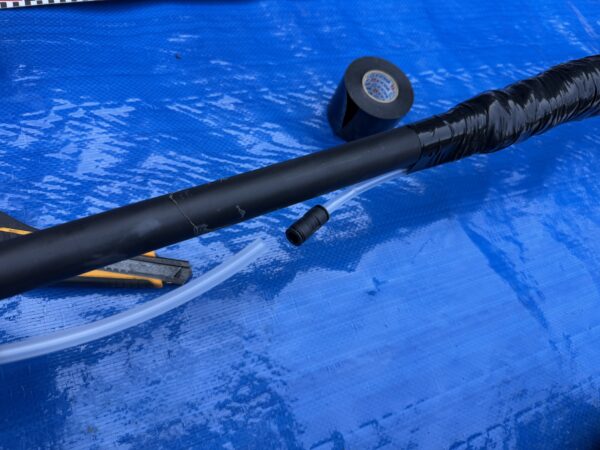
Key Points for Injection Hoses
Since the tip of the injection hose is sticking out of the packer, push the hose firmly into it at least 1 cm!
Key Point!
This is※Make sure to push it in firmly and check that it doesn't come out.Please do so.
If I mess up here, it's all over! lol
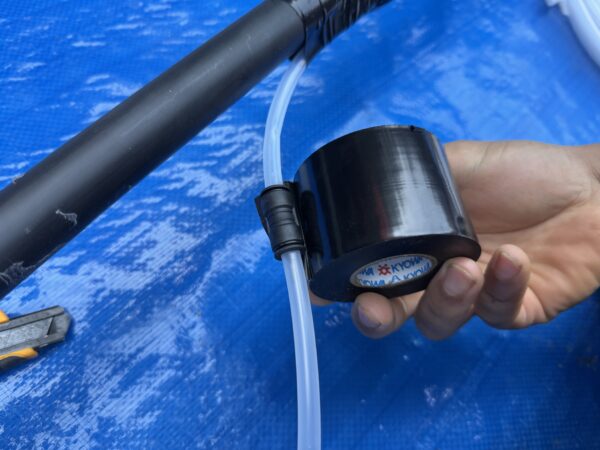
After pushing it in, secure this part firmly with vinyl tape so it doesn't come loose.
Then secure everything in place with steel wire.
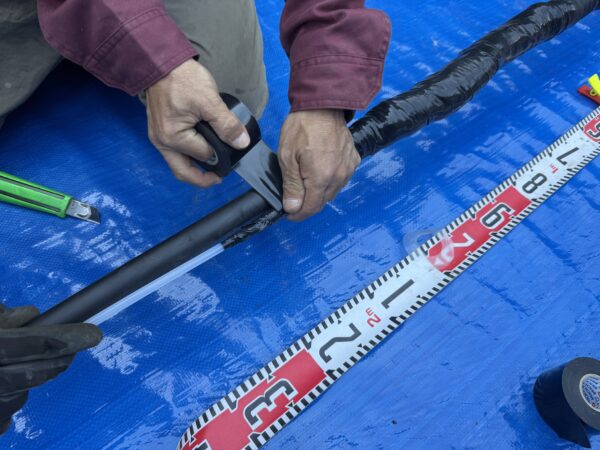
We'll create it while checking and verifying at key points along the way.
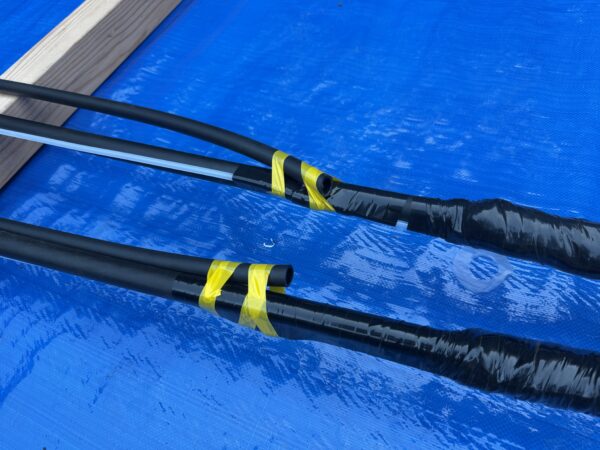
Next, attach the hose for rinsing the free-length section.
Install the hose taking into account the anchor's diameter, the casing's inner diameter, and other factors.
If it doesn't fit, it's fine to remove all the casings before cleaning.
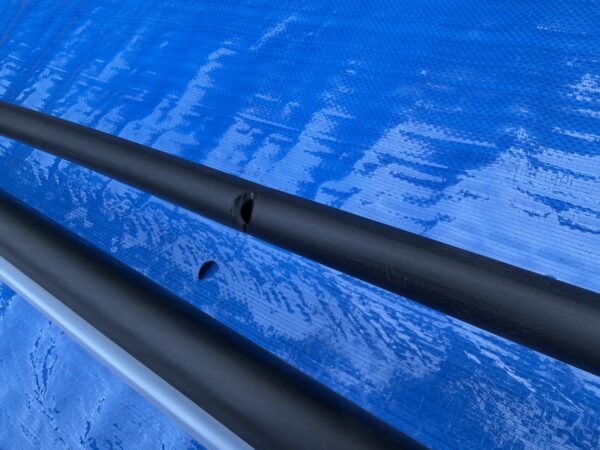
Drilling holes in certain areas allows for more efficient cleaning.
Now the anchor body is ready.
The method varies slightly depending on the type of anchor, but 90% of them are essentially the same.
To put it another way, SE's testing using table anchors might be a bit unusual.
Well, it's not that big of a deal, so please give it a try.
Next time, we'll cover the installation process.
See you later.