Hello, everyone.
This is Enta.
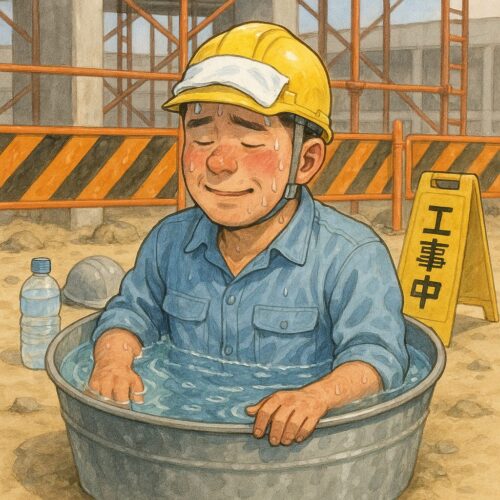
Lately, I've been thinking nonstop about how to quickly lower my core body temperature.
I thought that would help prevent heatstroke.
A lot has happened, so I'll write about it again lol
But that's beside the point.
This time, we're talking about "water."
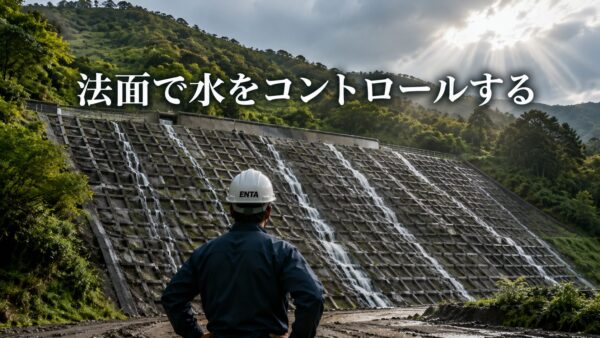
To put it simply, working on a slope is a battle against water.
I'll try to write this as clearly as possible for young directors.
The biggest enemy of a slope is "water."
To begin with, why do slopes fail?
Water is a factor in many of these collapses.
The Japan Road Association’s “Guidelines for Road Earthworks—Cut Works and Slope Stabilization” also states that slope drainage should be planned and designed to prevent erosion and collapse caused by surface runoff and seepage.
The power of water is incredibly strong.
After all, it can even destroy concrete structures.
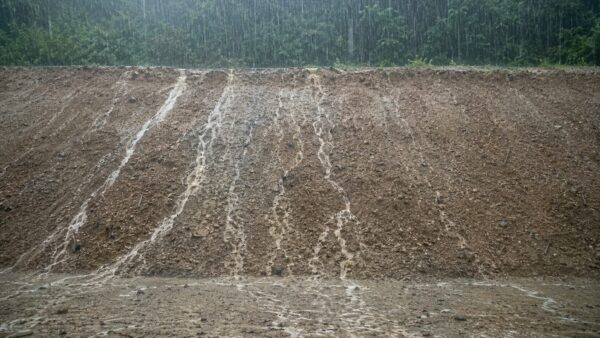
When it rains, water collects from the natural slope above the embankment and rushes down the embankment face all at once from the shoulder.
At this point, the faster the water flows (the higher the flow velocity), the more it erodes the soil on the surface.
This is erosion.
As erosion progresses, it forms gullies (rain-eroded rills), and if left unchecked, this can lead to surface collapse.
At first, it’s just a small groove about the width of a finger, but after the next heavy rain, it can quickly deepen to about 30 cm.
That's why, when it comes to slope stabilization work, it's absolutely crucial to consider "where to direct the water and at what speed."
The mechanism that slows down the flow is a “step.”
To put it simply, the easiest way to slow down the force of water is to "bump it against something."
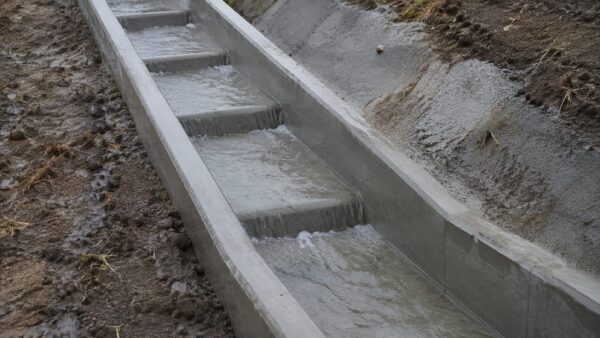
When constructing temporary waterways along the top of a slope or at the side of a slope, we intentionally create steps using mortar.
The water doesn't flow in a straight line; every time it hits a step, its flow velocity drops.
This principle is actually something you encounter in your daily lives.
It's a river!
There are lots of steps—called drop structures—built along the river, aren't there?
First, let the water accumulate to a certain level, and then drain off only the amount that overflows.
Just this alone will slow down the flow and make it calmer.
The natural rapids in small, traditional rivers sometimes double as fish passages.
Like sweetfish, lol
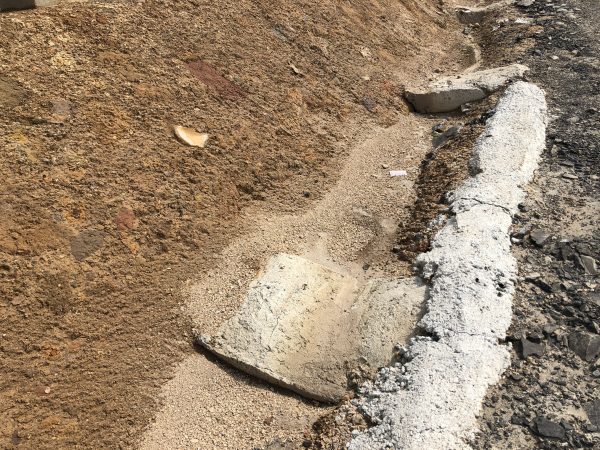
The same principle applies to temporary waterways at construction sites.
By the way, this step doesn't have to be anything too dramatic.
All you have to do is use the leftover mortar from the sprayed concrete and formwork to create a mound a few centimeters high at the bottom of the channel.
It costs almost nothing and requires very little effort, yet it’s highly effective.
The way water flows during heavy rain is clearly different between channels with and without steps.
If we reduce the flow velocity, we can prevent erosion, and if we prevent erosion, we can prevent landslides.
This is the order.
Create a "bump" on the shoulder to disperse the water
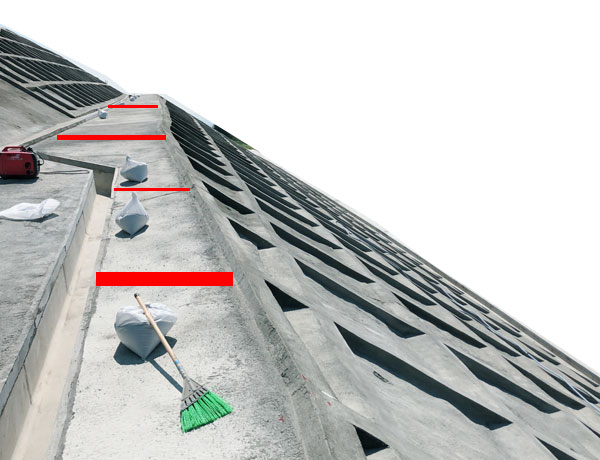
Another common method is to create small bumps with mortar on the sloped portion of the formwork shoulder.
When water flows directly over a cliff face, it concentrates on the weakest point, and erosion begins there.
So, I make little bumps here and there on the water trough and let the water flow out in small amounts toward the front of the trough.
To give you an idea, it’s like placing several “barriers” in the path of the water flowing along the riverbank.
The water hitting the bump loses its momentum and trickles down, drop by drop, onto the front of the retaining wall in the foreground.
Doing this prevents water from seeping in from the slope face, and since the water is dispersed, it also prevents erosion.
Furthermore, spreading the water on the slope as much as possible minimizes the impact on the vegetation engineering measures.
If there is a drainage channel, the general rule is to direct the water into it; however, on slopes without a drainage channel, “spread the water out.”
This is the golden rule.
These little touches aren't included in the blueprints.
It's not like the government is going to see it, so to be honest, it's just for my own satisfaction lol
But when I go to the site on a rainy day and see the water flowing over the bump and out the front of the retaining wall just as planned, I’m like, “Whoa! That looks great!” lol
I believe that those small moments of personal satisfaction on the job are the culmination of technical skills gained through experience!
I, too, learned this from a senior director a long time ago, and I’ve been putting it into practice ever since.
I think a supervisor who can think through water-related issues even beyond what’s shown on the blueprints is truly top-notch at their job.
My views haven't changed since I wrote about the same topic eight years ago.
Whoever controls the water controls the slope.
It’s incredibly mundane, but inspectors who know what they’re looking for will recognize it, and I believe that’s part of our job.
See you later.
The Power of Distraction Over Concentration | How to Manage Attention on a Construction Site