Hello, everyone.
This is Enta.
The Obon holiday began a few days ago.
Naturally, traffic to this blog has dropped significantly, and I’m thinking I’ll take a break around Obon.
That's right! I'll keep posting on the blog even during the Obon holiday lol
Whether I'm completely wiped out from playing with my kids or totally wasted from drinking too much, I'll still post an update.
Enjoy both your usual everyday life and the extraordinary moments that break the routine lol
Some of you may be reading Entame's blog while traveling abroad.
Some of you may be reading Enta's blog while traveling within Japan.
Some of you may be reading this blog while staying home.
No matter what happens, I intend to keep Enta’s blog exactly the same as it is now.
I think it'll get a little looser, lol

But that's beside the point.
I was thinking about writing a casual blog post like that, so I was looking through the photos I’d taken.
Thinking to myself, “Well, nobody’s watching anyway.”
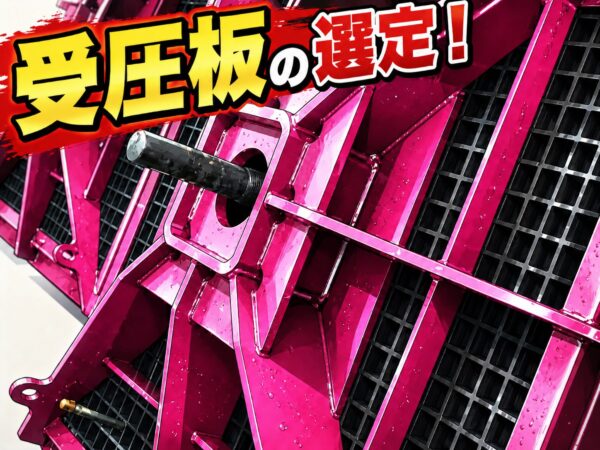
Installing a pressure plate is pretty tough, isn't it?
The timing and placement of the tension, the level, the appearance, and so on.
It's Obon season, but I thought I'd write about some tips for installing pressure plates lol (pretty in-depth, maybe?)
Precautions for Installing the Pressure Plate
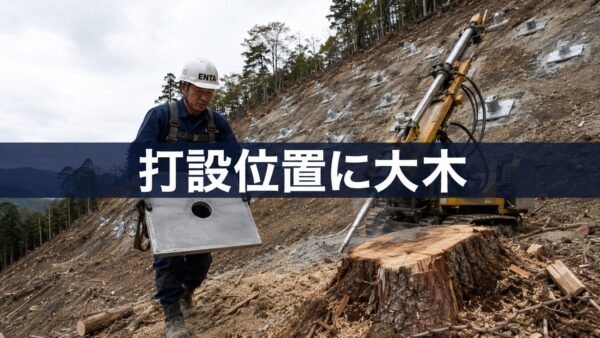
I assume we'll be using a crane or similar equipment to lift and install it, so let's start by coordinating with the heavy equipment operator.
Naturally, the number of panels installed varies significantly depending on whether the installation is done poorly or skillfully.
Pray to God that a skilled surgeon will come!

I’ll start by explaining the process of threading the excess tension length (steel wire) through the pressure plate.
While it's suspended, start by aligning it roughly to the correct position.
Ideally, it would be great if we could position it right up against the mountainside.
(If that doesn't work, use a jack to pull them together.)
Install the head components and set up the jacks.
Use a jack to pull it back just enough so that the back touches the ground.
At that time, we will make slight adjustments to the overall height (balance between the left and right anchors), the horizontal alignment, and the position of the anchor wires.
You can adjust it up, down, left, and right by the diameter of the hole, so install it so that it’s well-balanced.Let's do it.
At that time,A common mistake is tightening the pressure plate while it is still warped.That's what ends up happening.
Any misalignment of the load-bearing plate will become noticeable later on. Be sure to check it carefully with a level.
Also,For the angle-adjustable base, check the angle and direction before threading the steel wire through it.Then, mark it with a marker.
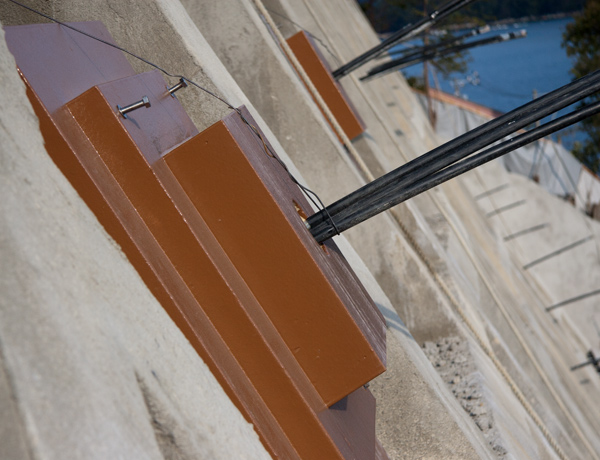
This angle-adjustment base is really important. Just setting this up makes a big difference in your progress.
It's also easier if you tape the top and bottom washers together with duct tapewill be.
(It's annoying when things get misaligned during installation or testing.)
If you're reading this right now and thinking, "Yeah, exactly—it's so annoying when it's off!"... you must be a veteran, right? lol
As long as you have butyl rubber, you can sandwich the parts together and bond them securely—no problem!
Once all the components are in place, start by slowly pulling the jack.
Stop the jack once before it is fully raised. (Before the initial load is applied)
Please make sure to stop here at least once!
If we drag this out any longer, there'll be no turning back!!
Let's double-check at this stage.
One last confirmation.
Now,The position and horizontal angle of the load-bearing plate; the position and horizontal angle of the load-bearing plate; and the position and orientation of the angle-adjustment base.
Please check everything.
After checking, slowly apply tension using the jack.
If you hear a "thud!" or a "crack!" along the way, please check again.
I'm on edge until the anchoring load is reached.
At this point, it starts to get pretty difficult to remove the wedge.
It's not impossible to remove it, but it's very difficult.
Just in case, it's a good idea to have a pair of needle-nose pliers or something similar on hand.
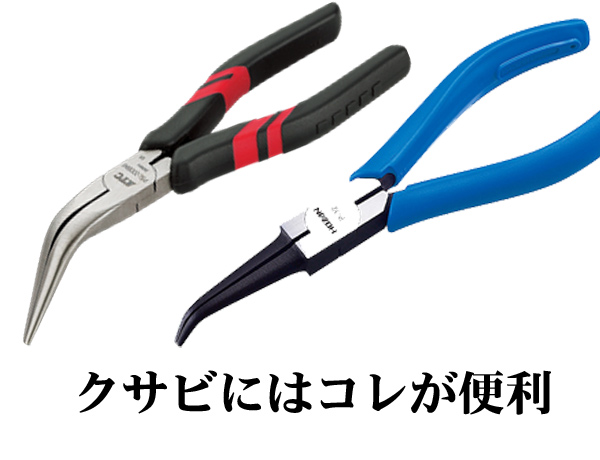
You can remove it by pulling with a force greater than the holding load, but be careful—it can be a hassle if the wedge falls out.
Please verify the yield strength (breaking strength) of 90%.
Anything beyond that is extremely dangerous!
Please do not stand behind the jack.
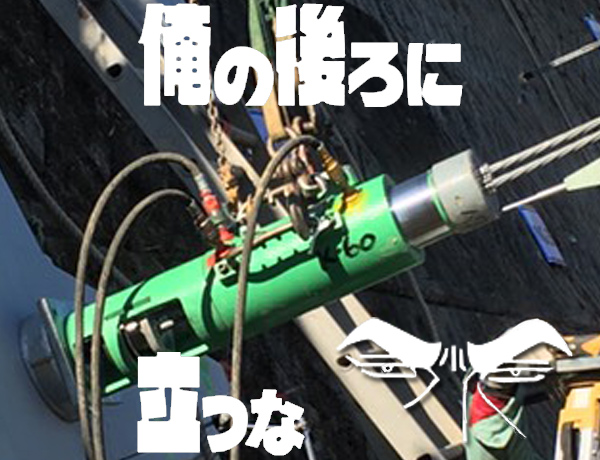
Please take every precaution when performing the installation.
See you later.
Manufactured and Sold by Wakazono Seisakusho
Bolt Scale, Dedicated Box, Clip Spacer, and Greenery Spacer
Please see below for inquiries and retail locations.
Natural Applied Sciences, Inc.
(Slope Greening Materials Group)
Phone: 052-212-1441
Koiwa Wire Mesh Co., Ltd.
(Contact the Chubu Branch)
Tel. 0568-75-7710
Showa Co., Ltd.
(Kagoshima Prefecture)
Tel. 099-296-1234
Fujiwara Industries Co., Ltd.
(Bolt scale only)
Phone: 06-6683-0797
Ura-Tsuji Industries, Inc.
(Shimane Prefecture)
Phone: 0852-24-6881