Hello, everyone.
This is Enta.
Construction Sequence for On-Site Sprayed Concrete Formwork in Slope Construction (Part 1)
Construction Sequence for On-Site Sprayed Concrete Formwork in Slope Construction (Part 2)
Construction Sequence for On-Site Sprayed Concrete Formwork in Slope Stabilization Projects (Part 3)
Construction Sequence for On-Site Sprayed Concrete Formwork in Slope Stabilization Projects (Part 4)
Golden Week is over, and we're gradually getting back into full work mode, aren't we? ^^
Anyway, let's be careful to avoid heatstroke and injuries!
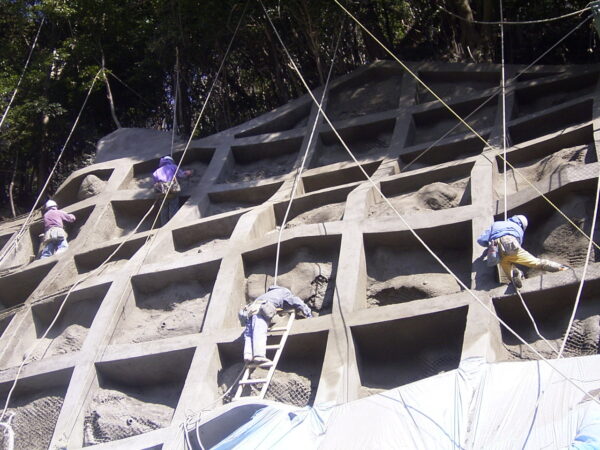
This post is a continuation of the one from the other day!
The mortar manufactured at the plant is called 1:4 mortar.
1: Cement
4: Sand
Sprayed Mortar (1:4)
420 kg of cement
1,680 kg of sand (1.24 m³)
This is called the standard mix design.
These days, things like this aren't even included in the specifications anymore, are they?
"1.24 m³ of sand for sprayed mortar work?" (Regarding the mix design)
We use these standards to prepare the mix on site.
Although the amount of cement used in on-site mixes is specified by JIS standards,
Sand may contain moisture, and its specific gravity varies by region.
Therefore, we measure the moisture content of the sand and adjust the amount of water added accordingly—either increasing or decreasing it based on the difference.
(Surface Moisture Content Test for Fine Aggregates—JIS A 1111)
I'll spray that onto the formwork as a 1:4 mortar mix lol
This mortar does not comply with JIS standards.
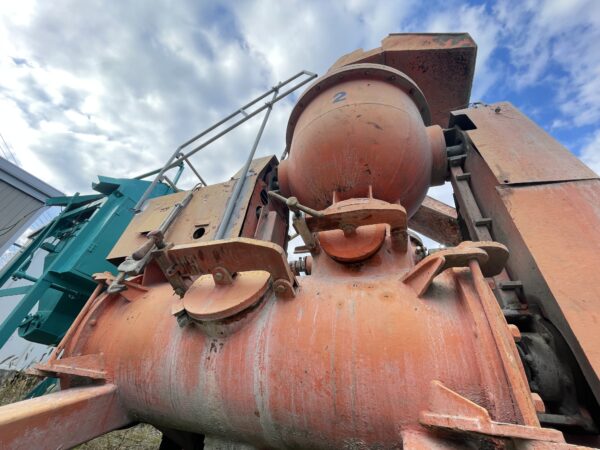
This is a bit off-topic, but products made by modifying JIS-compliant items no longer meet JIS standards lol (just in case anyone is under that misconception).
Once this is sprayed on, the formwork is complete.
But here's the problem!
There aren't any photos of the finished product lol
There have been plenty of updates along the way, but the all-important finished photos are...
Since it's such an old photo, I don't even know where I went...
Here are some photos of another job site, showing the before and after.
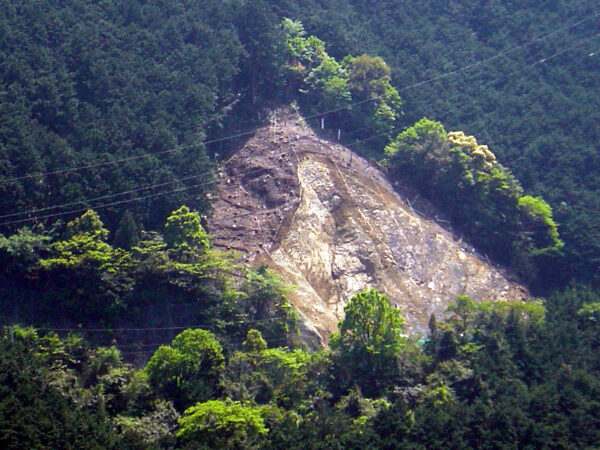
This is before construction.
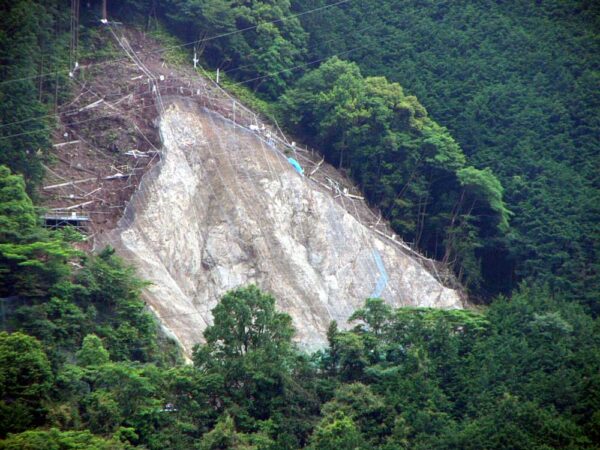
The formwork has been installed, and the framing has been aligned.
This site collapsed once during construction, resulting in a design change.
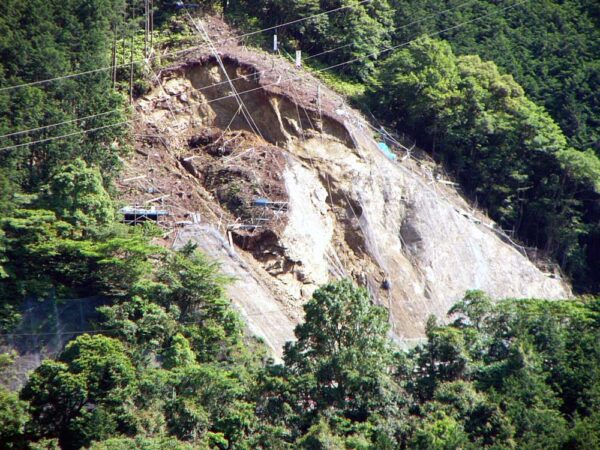
From here, we'll secure the upper section using ground anchors, and for the lower section, we'll reinstall the lath and proceed with formwork construction!
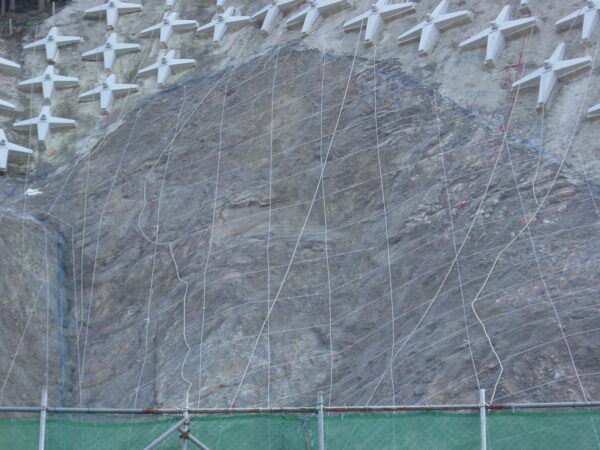
Work on the upper ground anchors has been completed, and the centerline alignment for the lower retaining wall has been finalized.
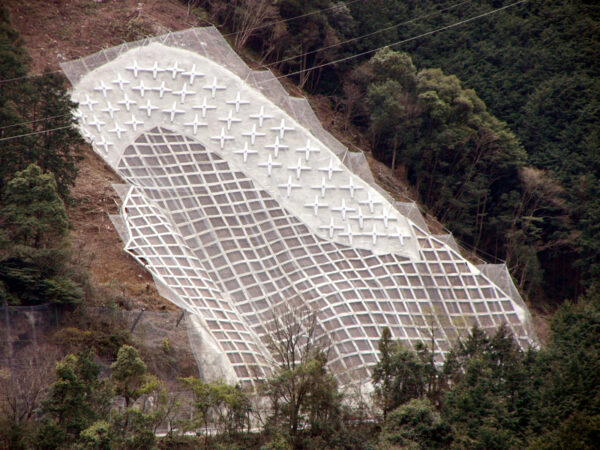
It looks something like this ^^
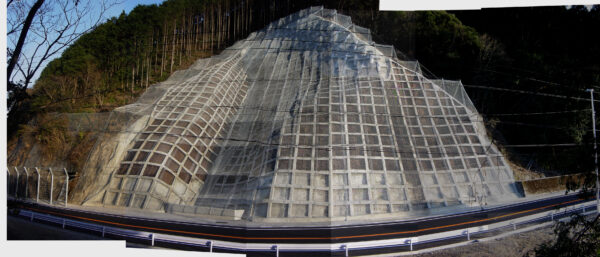
In the past, there was a technique where you would take multiple shots with analog photos layered on top of each other, then cut them along the best parts and join them together.
I applied that technique digitally and used it back then. I'm pretty sure I edited this in Photoshop.
So, that wraps up this post on the construction process for on-site spray-applied formwork.
Next time, I'd like to explain what's inside the box as well.
See you later.
By the way, documents regarding on-site mix adjustments and other regulatory requirements are available for download from our website.