Hello, everyone.
This is Enta.
The blog posts I’d been writing on the plane were completely wiped out (lol)
I don't even remember what I was writing.
What a letdown lol
But that's beside the point.
Regarding the discussion the other day about the zabuton budget, I was creating the cost estimation documents in Excel.
Besides,Due to an error, we are pausing this for now.
Thank you for pointing that out.
I'll make the corrections and upload it later.
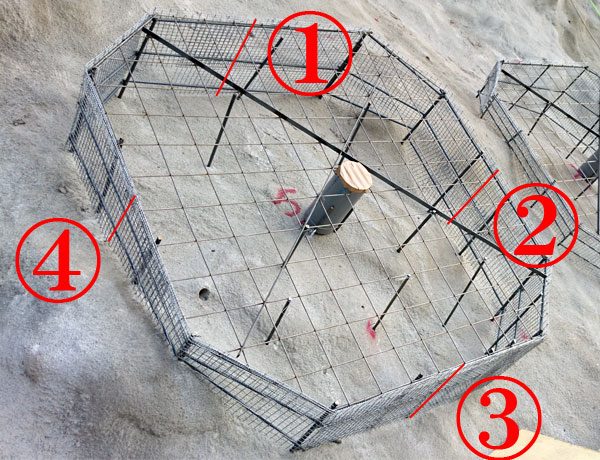
I just realized I hadn't posted any photos of the spray-painting process or the finished zabuton frames, so I thought I'd upload some.
This time, we're spraying the zabuton frame.
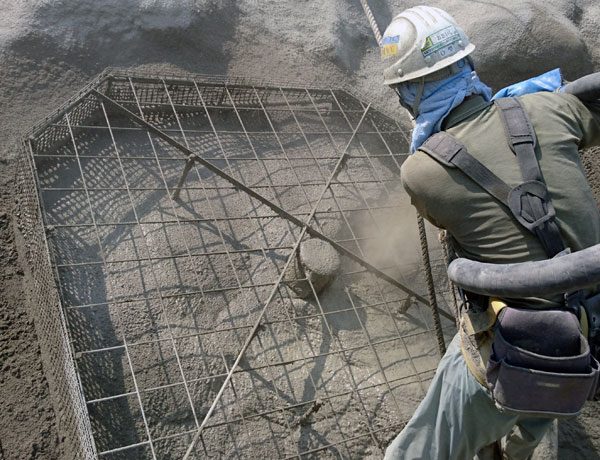
Apply it as usual.
So, if the item is more than 20 cm long, I recommend applying two coats.
We'll apply the first coat in the morning and finish up with the rest in the afternoon.
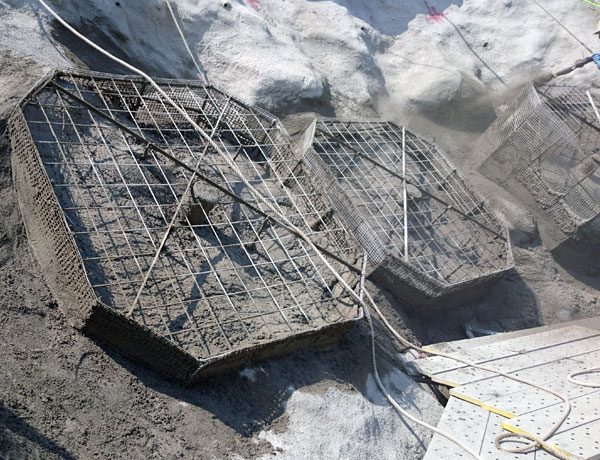
Since this is basically a job using low-mix mortar, and since this is strictly a cushion frame for backfilling, even with two coats of spray...
Since the specifications state that the strength is approximately 10 N/mm² even with three coats, I don't think the number of coats is an issue.
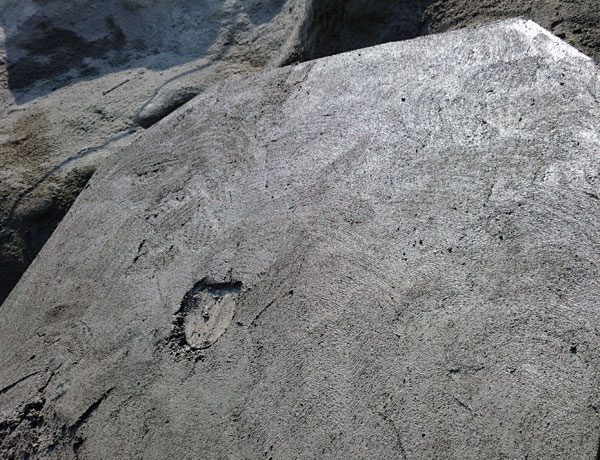
Apply the trowel firmly to the surface, or apply the mixture sparingly, as if you were scraping away the sand.
This is the most important part of the zabuton frame.
After all, it's pointless if the pressure plate isn't securely mounted.
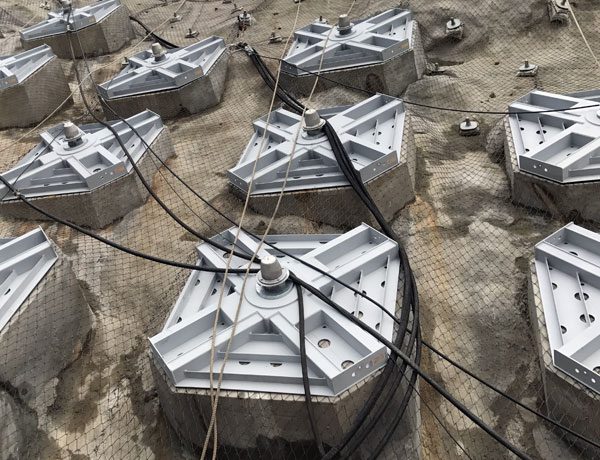
So, it's finished—something like this.
The direction and the finish are both spot on! lol
Installing zabuton frames requires experience and know-how.
See you later.