Hello, everyone.
This is Enta.
It looks like we'll be able to complete the dewatering drilling—which we've been working on during our days off for the past few days—by the deadline after all.
Even after the cold snap passes, it's still cold, isn't it? lol
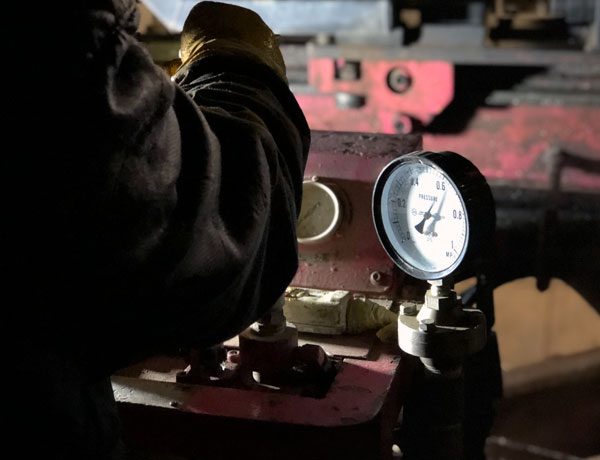
Also, when it comes to pumps used for dewatering, a piston pump system—which produces no pulsation—is definitely the best choice.
The pressure gauge broke, so it was running at 0.4–0.6 MPa lol
*It looks like there might be a few openings in the Anchor Team in early February!
Why don't you give us a call? lol
But that's beside the point.
How to Make a Packer (Part 5)
Last time, we covered the tip.
This time, we'll look at the boundary between the fixed-length section and the free-length section.
This distinction is actually quite difficult.
This is usually where the leak starts.
Actually, as long as the tip is securely tightened, it will still function properly as a fastener even if there’s a slight leak at the top, but,
The pressure gauge doesn't reach its maximum when pressurizing. (Although you shouldn't overpressurize either.)
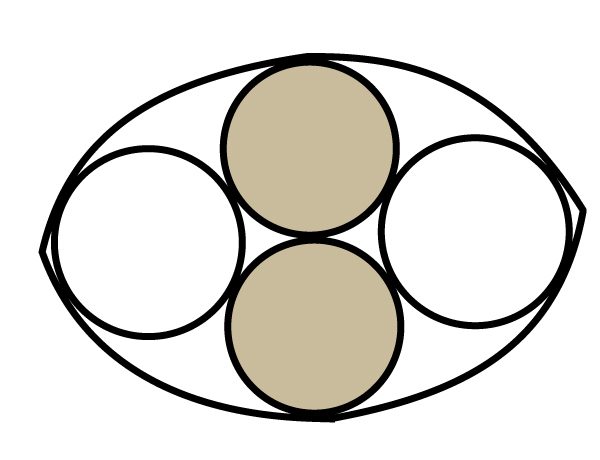
This is a cross-section of the packer during its manufacture.
For example, let’s say the colored cross-section is PC steel wire, and the section next to it is an injection hose.
There are two hoses: one for injection and one for verification.
Once you put the packer on, it ends up looking like this—full of gaps.
You fill it with Span Seal to prevent leaks.
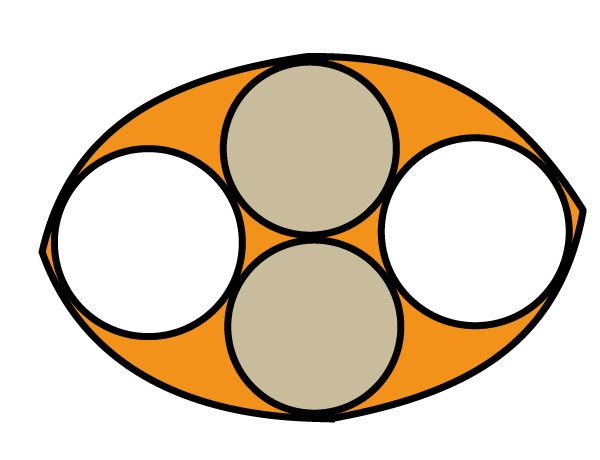
The orange part is the span seal.
This is actually harder than you'd think.
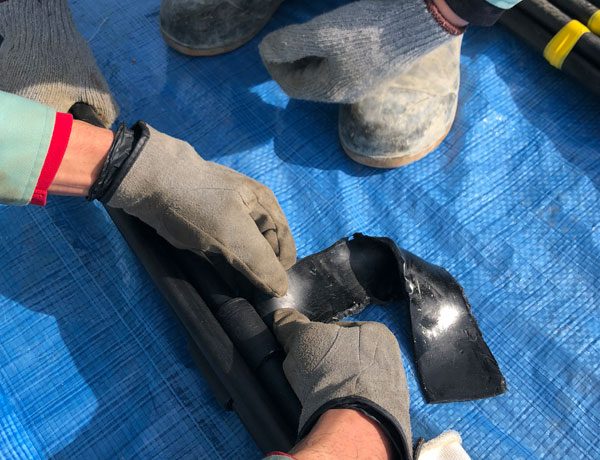
I'm working while teaching a young person, lol.
This task is tedious and time-consuming, but it's an important part of the process.
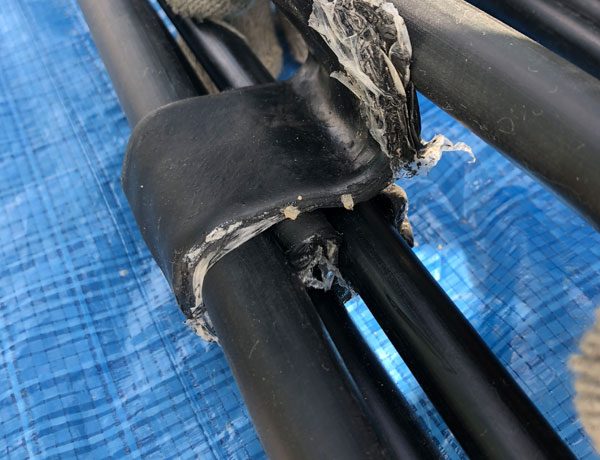
Be sure to install the Span Seal so that it runs around the entire circumference of one side.
If the Span Seals stick together, there will be no gap.
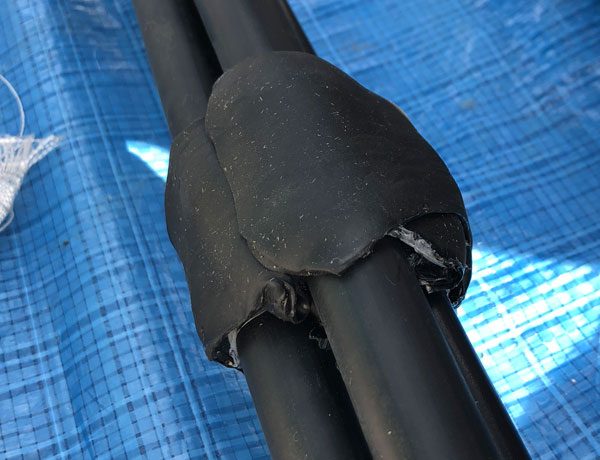
In the end, it will look like a ball like this.
Please make sure the Span Seal is securely attached.
Next, we'll finally put the packer on.
See you later.