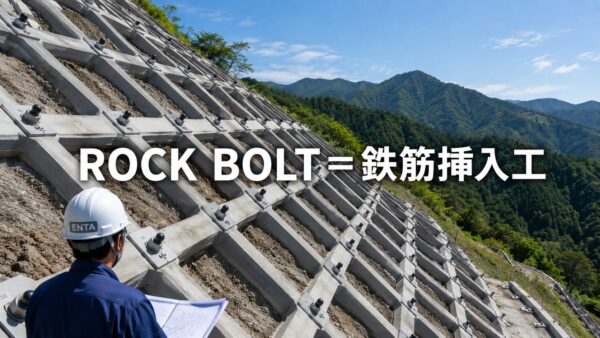
Hello, everyone.
This is Enta.
There are all kinds of construction methods and products out there.
Here are the products I used.
This time,Flat Cap for Rebar Insertion WorkersThat's it.
Did you know?
I believe it is currently being used for the end treatment of rebar insertion work on projects such as the New Tomei Expressway.
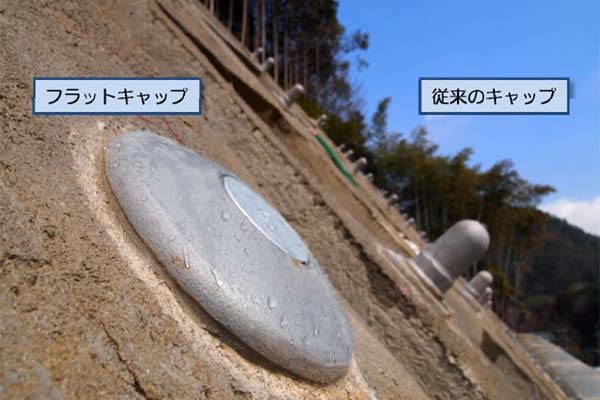
The NETIS website featured the photo shown above.
What catches my eye here is the flat cap—he's sweating like crazy lol
I'm curious why you used this photo, though... lol
It seems the inspection of the site we worked on the other day has been completed, and now that we’re finally at the stage where we can make this public, I’d like to share it with you.
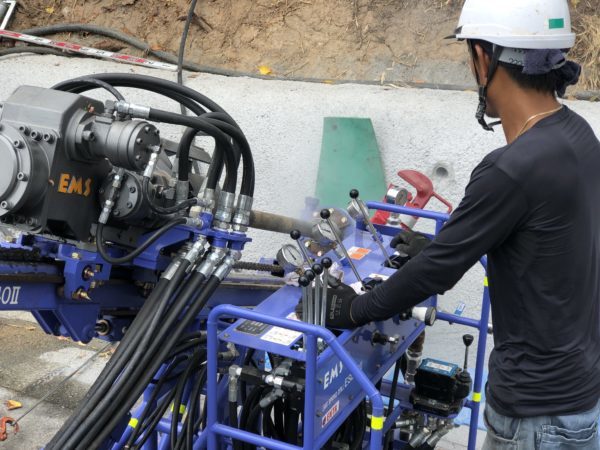
The drilling is standard drilling.
That was also the first day we used our spring drill, lol.
It was the surgeon’s first time drilling a hole, so he was a little nervous, and I kept nagging him while he did it.
This project involved applying sprayed mortar over dry-laid stonework at an elementary school and inserting 2-meter-long reinforcing bars.
The borehole diameter is 65 mm for a single borehole. This is Site Condition II based on market unit prices.
After drilling is complete, insert the rebar.
Normally, the edge is extended 10 cm beyond the finished mortar surface.
However, this flat cap sits slightly below the mortar surface.
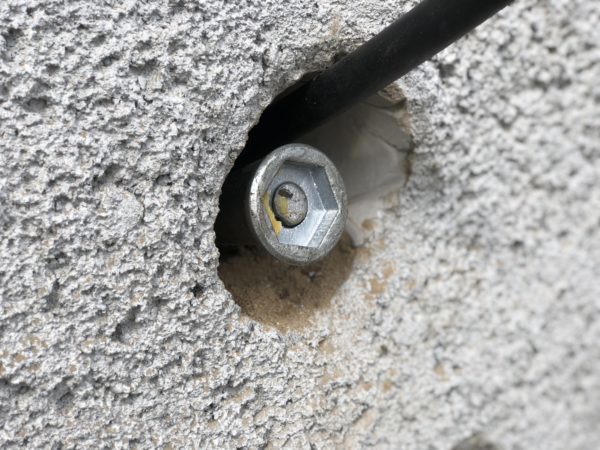
The photo above shows the flat cap installed.
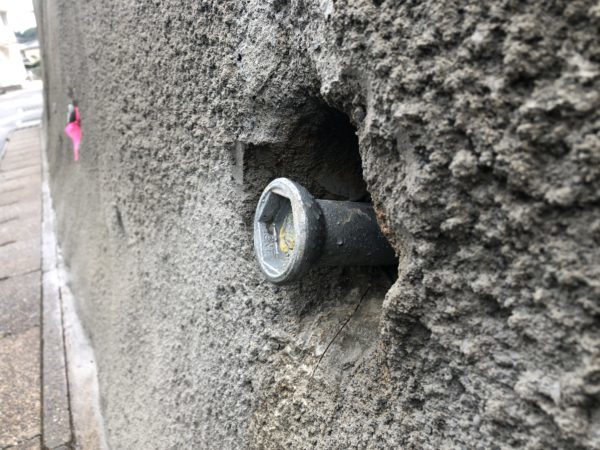
Set it at the same height as the mortar surface.
The yellow grease on the head is there to prevent the grout from seeping into that area when the cap is in place during injection.
I watched a YouTube video to make sure I understood everything before starting the installation.
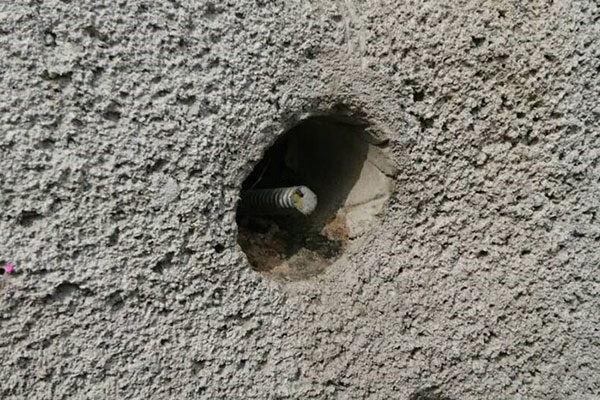
Remove the flat cap after the cement slurry has hardened.
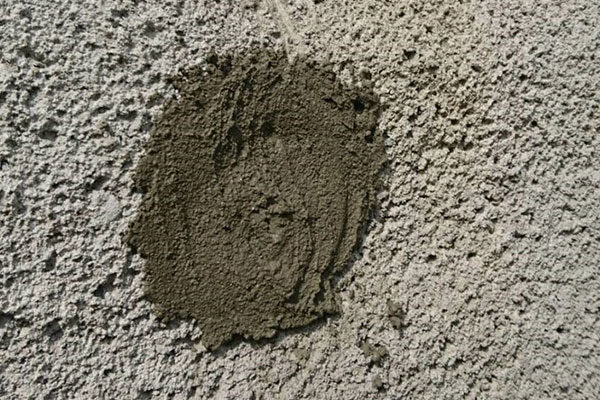
Then, fill it with mortar from the top.
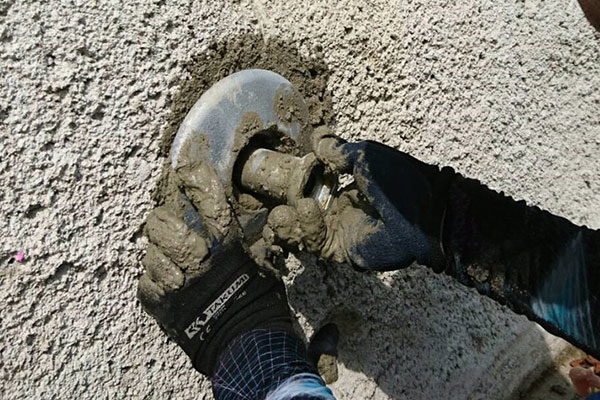
Attach the flat plate and tighten the flat cap.
The plate gets dirty at this point, so if you don't clean it thoroughly right then, it won't look good later on.
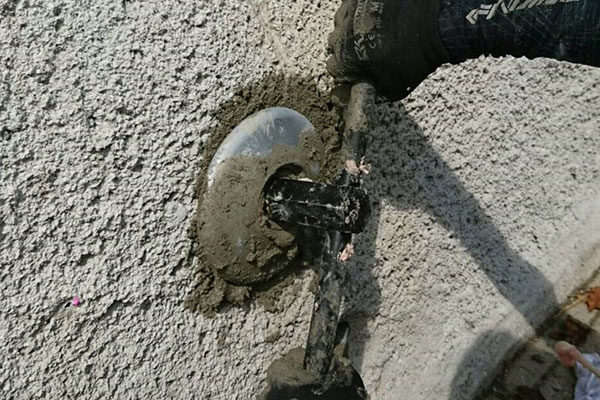
Tighten it using the included special wrench.
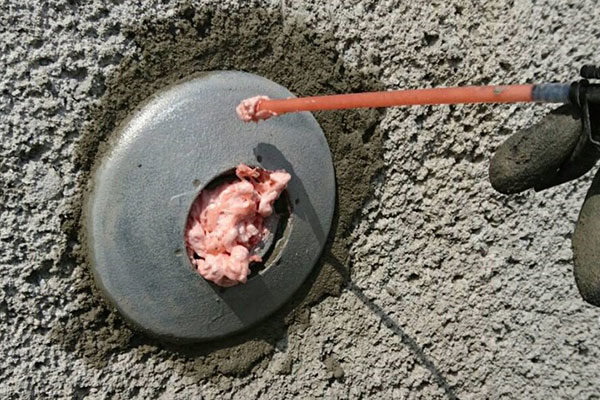
Clean the flat plate and fill it with polyurethane foam.
Immediately place the flat plate lid on top.
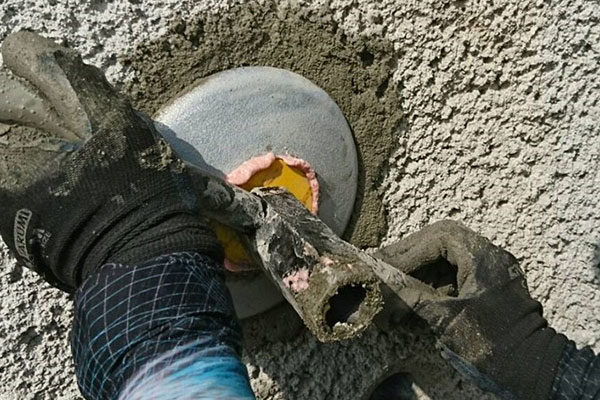
Use the back of the special wrench to lock the lid.
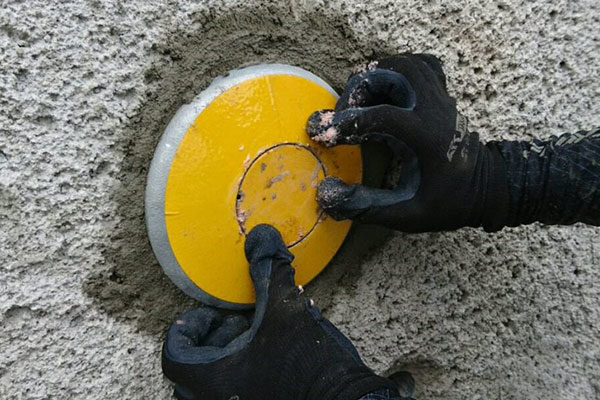
It's finished.
What do you think?
It was easier than I thought.
There aren't any particular issues with the installation method, but there is one thing that concerns me.
It's the polyurethane foam that goes inside the cap!
This isn't great.
That’s because—take a look at this photo.
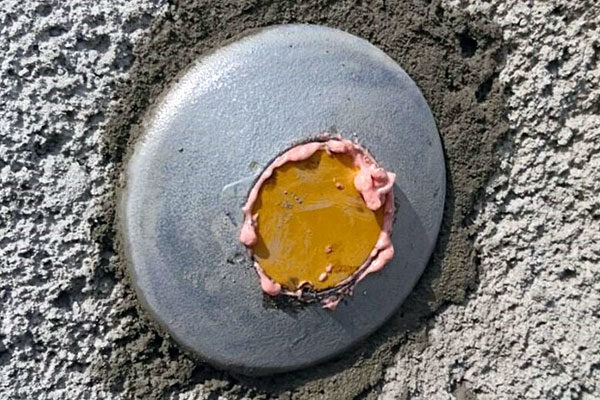
It's foaming, and urethane is coming out.
Remove it after the urethane has cured.
This actually gets dirty. (The lid on the top)
I didn't take any photos of the stains, but the lid and other parts do get slightly dirty.
If you try to remove it, you'll need something like paint thinner, so you'll have to get some.
The finished look is excellent, so as the construction manager, I was a little concerned about the dirt.
I can't help but wonder, "Wouldn't caulk work just as well for this?"...
I won't be exposed to UV rays, so it should be fine, right?
I feel like that would give a nicer finish.
(Well, I guess it depends on the manufacturer's ingenuity, lol)
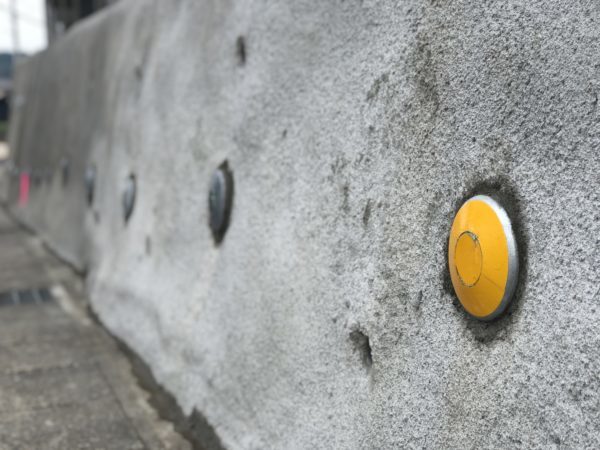
And isn't this flat cap yellow?
Actually,With Reflector FunctionWhat?!
This time, I tried adding reflectors to just four spots—what do you think?
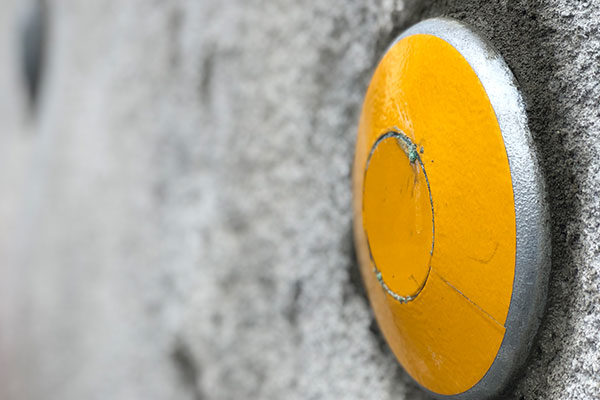
I've always been a big fan of reflectors, so I highly recommend this!
It seems likely that the popularity of these flat caps will continue to grow in the future.
That's because the number of reflective materials out there has increased tremendously.
This applies to traffic safety as well; when you prioritize safety above all else—especially with excellent visibility—it’s the perfect opportunity to get creative.
For now,
For rebar insertion products,There are no innovative products designed to improve safety in the surrounding area.
It goes over exceptionally well with government officials.I think so. (Especially at construction sites along the road.)
By the way, the local government office at this site responded very positively.
Since it was a town-sponsored project, there were no bonus points or anything like that, but they were very pleased with it.
As for the reflector, I thought it was a product that, thanks to its innovative design, was likely to find its way into standard designs.
So, maybe I should just list it as the design price?
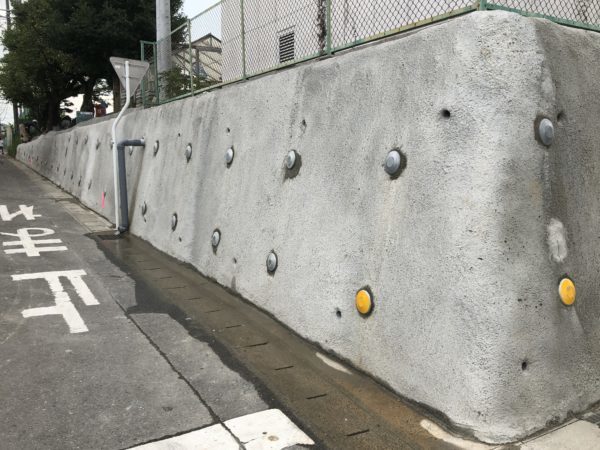
It glows while driving at night, so it's easy to spot, isn't it?
If you haven't seen it yet, please take a look.
We purchased the item from KF.

And for those in the Tokai region, the event will take place next week."Construction Technology Fair in Chubu"They'll be setting up a booth there, so it's important to check it out for yourself!
A picture is worth a thousand words. Right? Well, it's faster to just take a look, and you'll see what I mean.

I'll be going to the Construction Technology Fair on one of those days, too.
It depends on the situation on-site as to which one I'll go to, but I'll definitely go.
I've actually been invited to a few places, lol
If you happen to see him, please say hello.
See you later.
P.S.
There are also videos on YouTube about how to manage anxiety. Just for your reference.