Hello, everyone.
This is Enta.
This is a continuation of the previous post on the Moldam method.
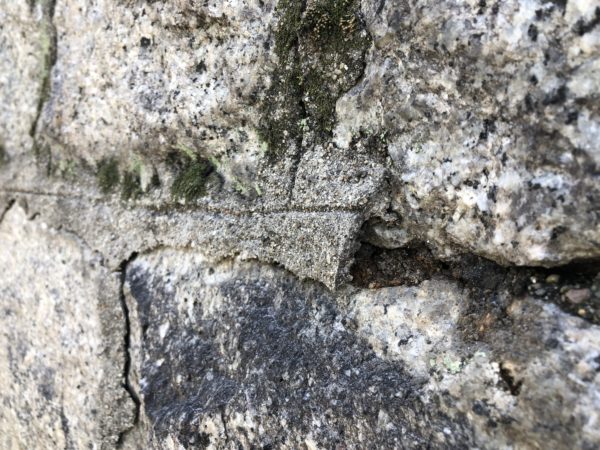
I removed the thin grout.
After that, wash it thoroughly.
Wash it using a high-pressure washer or a tap water spray.
At this point, be sure to thoroughly remove any fine particles and debris.
Wash it thoroughly as described above, apply a primer, and let it sit for one day.
The work will go more smoothly if the crew splits into two groups.
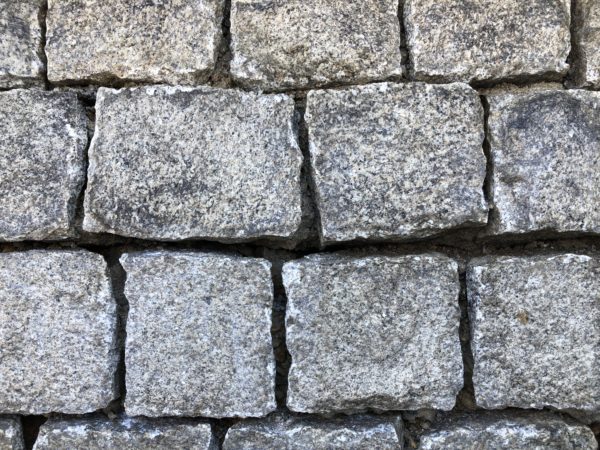
After cleaning, the stone wall looks like this, with gaps ranging from 10 cm to 20 cm.
After this, we will proceed with the Moldam injection as soon as possible.
Up until now, the material has been thin mortar and loose soil, but we will replace it with Mormud.
Since Moldam itself is viscous, the stones bond firmly together as it hardens, providing a sense of stability.
Since we are slope experts, we are also experts when it comes to using stone masonry to prevent landslides.
Since stone walls are, in a sense, the same as slopes, I think we’ll likely see more of these types of slopes in the future.
The next step will be a Moldam injection.
See you later.