Hello, everyone.
This is Enta.
I've been in Odawara since the other day!
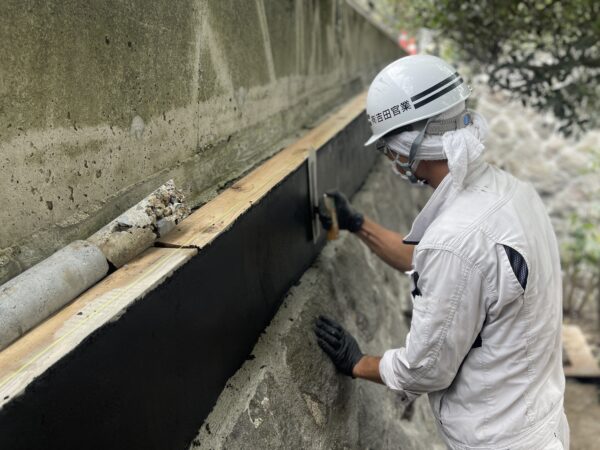
We're currently carrying out reinforcement work to prevent stone wall collapse in Odawara, and this includes some concrete repair work as well.
So, we got some help with the plastering work from Chiba!
I'm Yocchan from Yoshida Kanyo!
They’re applying a special, jet-black premixed mortar to achieve a 10-millimeter finish—something we in civil engineering would never have imagined.
I was watching them, thinking, "Pros really are amazing," lol.
But that's beside the point.
How to Make a Packer (Part 5)
Last time, we covered the tip.
This time, we'll look at the boundary between the fixed-length section and the free-length section.
This distinction is actually quite difficult.
Generally speakingThis is where it's leakingThat's why.
Actually, as long as the tip is securely tightened, it will still function properly as a fastener even if there’s a slight leak at the top, but,
The pressure gauge doesn't reach its maximum when pressurizing. (Although you shouldn't overpressurize either.)
When pressurizing, as much as possibleIt's best not to exceed 0.2 MPa.That's it.
The injection hose bursts at 0.5 MPa! (Tested)
And if you go beyond that, there's a very high chance that the fastening will break.
Even if pressure is applied, the diameter will not exceed the bore diameter, and
0.2 MPa or higher isIt's just that the mesh of the packer itself stretches and slips out of placeThat's it.
The reason why it's okay even if the top is leaking is that,
As long as the lower fastening section isn't broken, the packer will definitely expand under the weight of the cement slurry.
It's just that the top is open.
I haven't seen it myself, but it's under considerable pressure just from the total weight of the cement slurry.
You understand that from a physics standpoint, right?
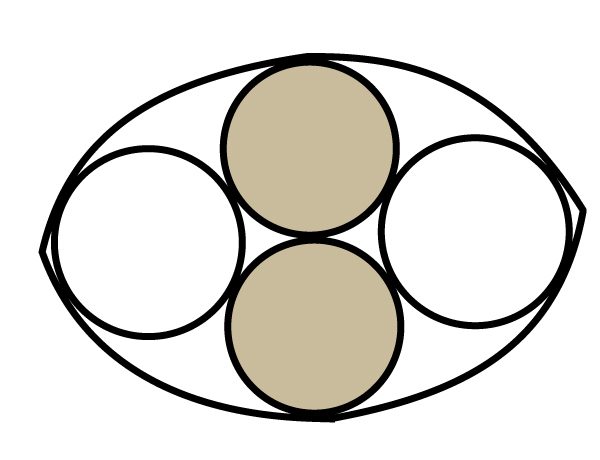
This is a cross-section of the packer during its manufacture.
For example, let’s say the colored cross-section is PC steel wire, and the section next to it is an injection hose.
There are two hoses: one for injection and one for verification.
Once you put the packer on, it ends up looking like this—full of gaps.
You fill it with Span Seal to prevent leaks.
*Span Seal = butyl rubber
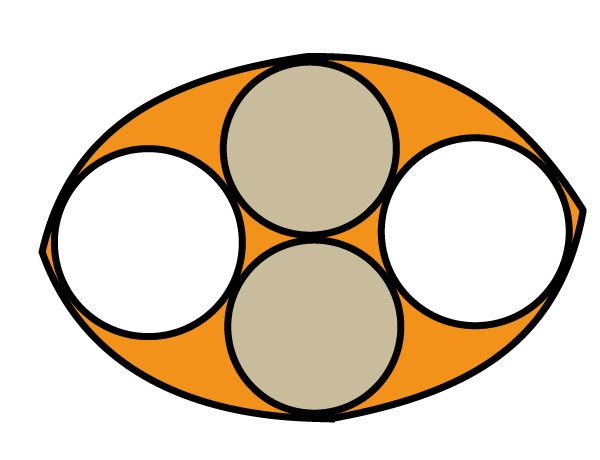
The orange part is the span seal.
This is actually harder than you'd think.
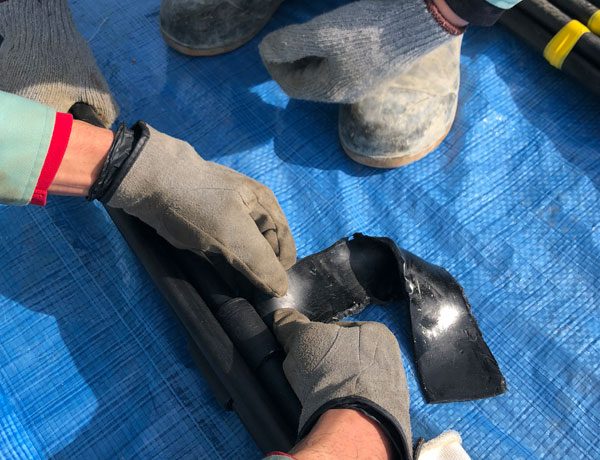
I'm working while teaching a young person, lol.
This task is tedious and time-consuming, but it's an important part of the process.
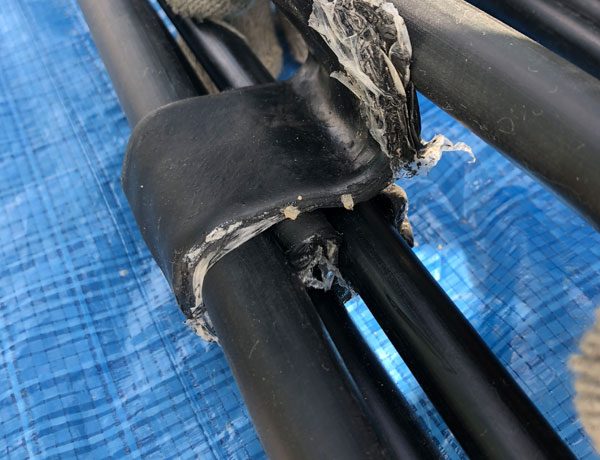
Be sure to install the Span Seal so that it runs around the entire circumference of one side.
If the Span Seals stick together, there will be no gap.
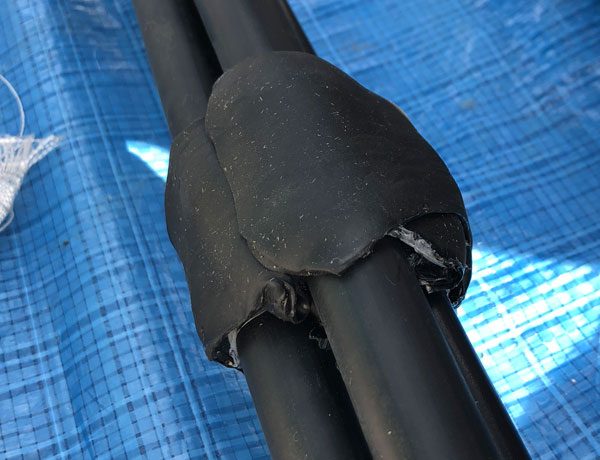
In the end, it will look like a ball like this.
Please make sure the Span Seal is securely attached.
Next, we'll finally put the packer on.
See you later.